 |
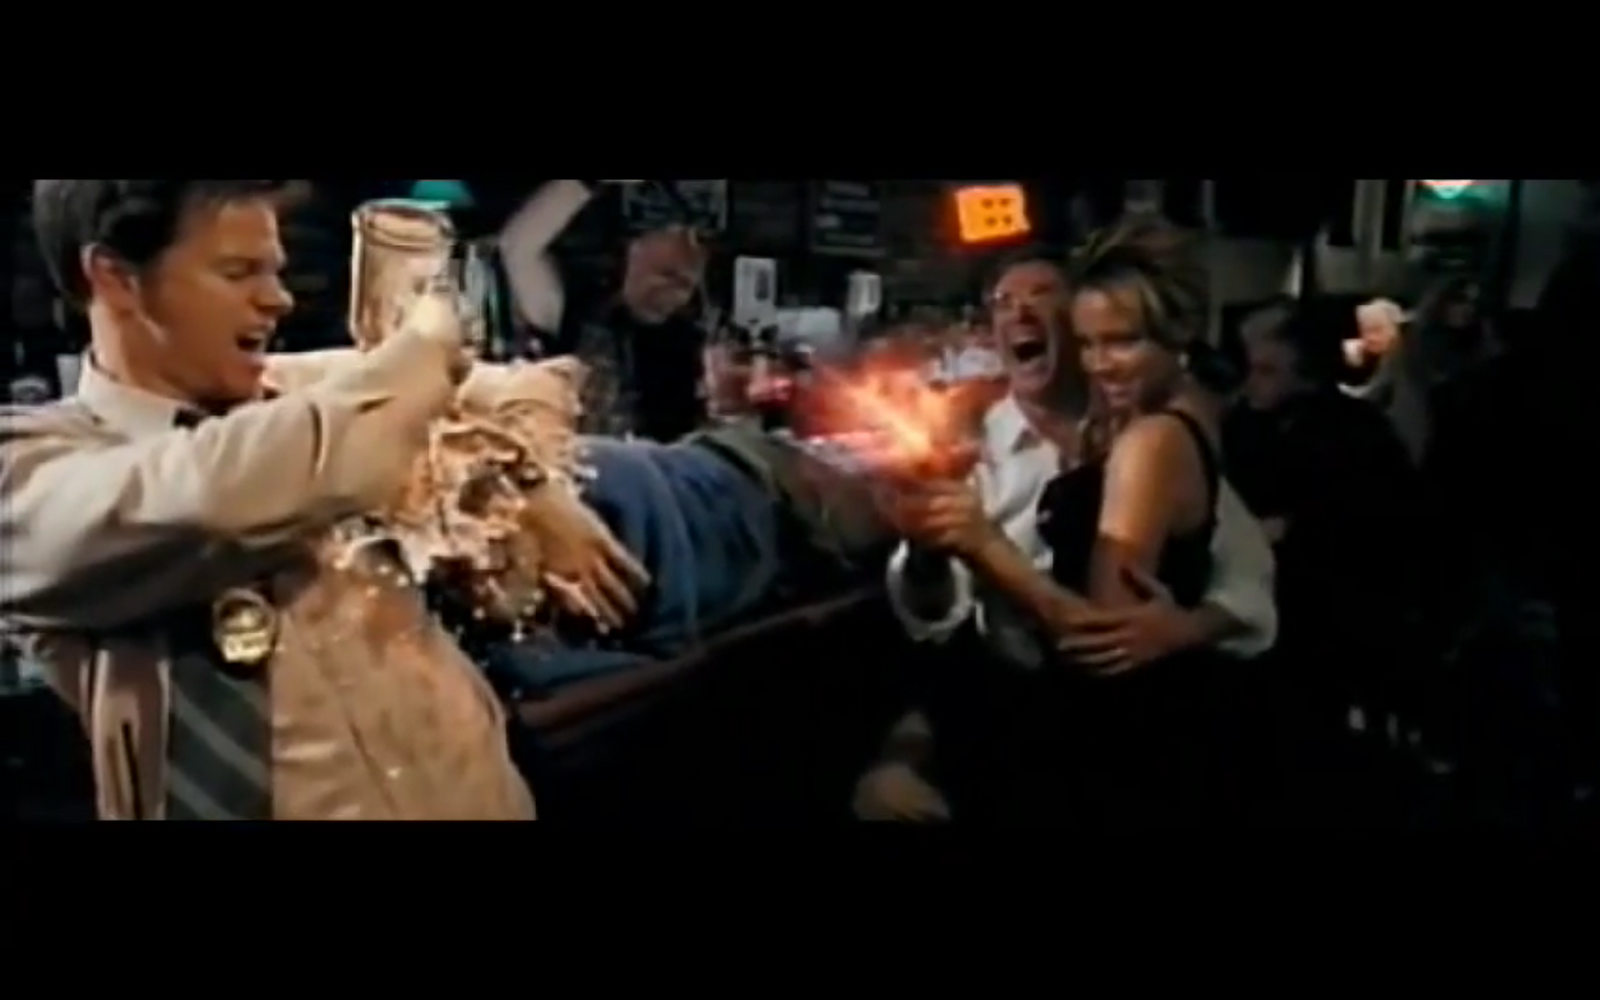
| beer spilling and gunshot frozen in time |
When it came time for me to select a theme for my IMM 412 final, I decided on an idea relatively quickly. I wanted to freeze time. There was this one shot in the film "The Other Guys," starring Mark Walhberg and Will Ferrel that confused the hell out of me. The shot appears to be a single take tracking shot following the Walhberg and Ferrel through a crazy night they have in a bar. However, what makes this shot extraordinary is the fact that time is frozen. The camera moves freely through 3D space as frozen pieces of popcorn and spilling beer remain frozen in time.
 |
| frozen popcorn pieces |
I instantly wanted to delve into how this shot was created! I searched the web and found a few similar sequences that resembled this bullet time frozen effect. The first instance I stumbled on was a commercial Philips had produced about 3 years ago. The video followed a heist situation gone wrong, one tracking shot of an entire hospital complex...oh yeah, and everything was frozen in time. In order to achieve the amazing sequence, 3 different motion control rigs were used to keep shots consistent and exact. Then, two shots were filmed for each segment of the video,
one as a clean pallet at 24 fps, and then a second at 48 fps with actors in the shot so their slight movements would become less noticeable. Another technique used was to shoot the scene at an extremely high frame rate (about 750fps) so that the actors slight movements were not picked up in the final composition.
Realizing I had none of this equipment or capability, I looked to alternative ways to sell my shot. I knew I wanted a single tracking shot of a college freshman floor. The shot would have total chaos ensuing on the floor, and then end with one student trying to study and breaking the frozen shot when yelling at his floormates to shut up. However, achieving this shot proved to be difficult even before sitting down with my friend, Andrew Kuserk, for the 3D post production.
I started testing about two months before even starting production in order to see what type of camera I should use. After several failed attempts using a high speed point and shoot camera I own, I decided it would be best if I used a high definition camera at 60fps. Though the high speed camera could shoot at 220 fps it was just too low a resolution. After some testing with actors holding positions at 60fps and slowing that footage to 30 fps in after effects, I found a pretty good balance between semi high speed and quality. I also utilized the warp stabilizer in after effects as well as other tools to help clean up my footage. Next came production.
 At the onset of this project I had very high expectations. I always go into a video or short film knowing what I want the final product to look like, but often not realizing how unfeasible my desired result actually is. However, after finishing this project, I am happy to say the finished product is pretty close to my expectations. Some issues I have with the video include: frame rate issues (converting 60fps to 30fps turned out to be more difficult than anticipated), lighting inconstancies and issues (as even with 3 lighting kits shots came out very dark), actors not being able to hold certain positions still enough, and not having access to a track dolly system. Some accomplishments of mine however come in making up for the lack of certain pieces of equipment. The camera moves I was able to achieve with a wheeled dolly and in house stabilizer turned out to be quite effective. Continuity between shots also held up well.